
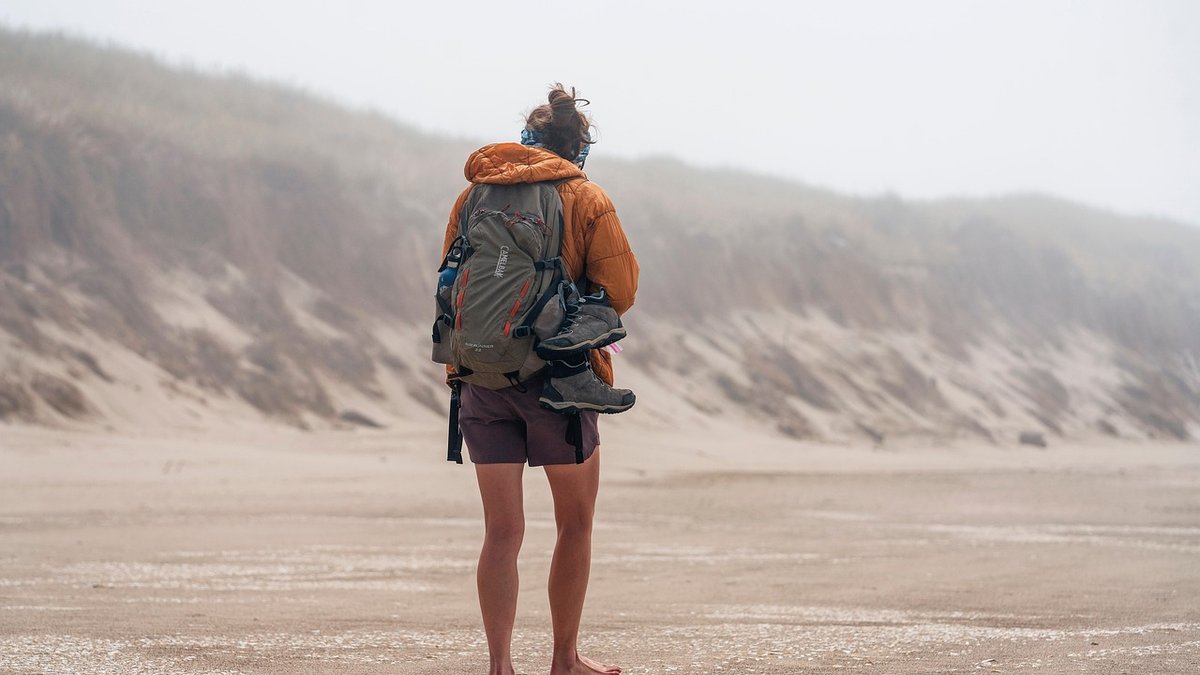
British weather has a reputation for being miserable, but for anyone who makes or repairs their own gear, it is an extraordinary testing laboratory. Nowhere else can you experience horizontal drizzle, a sudden 40mph gust, and a cold clear dawn in the space of a single weekend. If your handmade tarp, bivvy bag, frame bag or cycling cape survives a proper British battering, it will cope with almost anything you throw at it abroad.
The trick is not to wait for a big trip to find out whether your stitching holds. Test deliberately, in small doses, close to home, where a failure means a walk back to the car rather than a genuine emergency.
Before you trust a piece of kit outdoors, soak it in the garden. This sounds trivial, but it reveals a great deal. Pitch your tarp or tent fly, then run a hose over it for ten minutes while you watch from underneath. Look for the difference between beading and wetting out. If water spreads into a flat sheet rather than forming droplets, your durable water repellent finish has failed and the fabric will soon feel clammy against your skin.
Pay attention to these areas in particular:
If something leaks, note where and why. A leak under a static hose test is usually a design or seam-sealing problem, not bad luck.
Wind is the enemy that most makers underestimate. A tarp that looks taut in a still garden can flap itself to destruction on an exposed ridge. Choose a breezy day — a coastal path or a hilltop with a forecast of 30 to 40mph gusts is ideal — and pitch your shelter properly.
Watch for flutter. Any panel that snaps back and forth is fatiguing the fabric and the stitching with every gust. Fix it with better guyline angles, more tie-out points, or a stiffer pole configuration. Listen, too: a shelter that cracks and slaps all night will keep you awake even if it survives.
For cycling and bikepacking gear, wind testing is about stability rather than shelter. Load your frame bag and ride into a stiff headwind. Does it sway? Does the strap rub your leg? Does the fabric bulge into your knee stroke? A bag that shifts under load will chafe through in a few hundred miles.
The hardest test for any handmade gear is a cold, damp night. Condensation, not rain, is the enemy of most lightweight shelters, and British humidity makes it worse. Pitch in a low field on a still, clear night in late autumn and sleep in your creation.
In the morning, inspect everything before you pack it away:
If you can, repeat the test in a genuine frost. Materials behave differently at zero degrees, and a cord that holds beautifully in summer may slip when it stiffens.
Gear that works when you are standing still may fail when you are moving and sweating. Load your pack or panniers to the weight you would actually carry, then do a proper six to ten mile walk or a two-hour ride in the rain. This is where you find the flaws that matter:
Take notes as you go. A phone memo or a small notebook is enough. Record the date, the conditions, what failed, and what you think caused it.
Every test should end with a thorough inspection in good light. Dry the gear completely, then run your hands over every seam and stress point. Look for pulled stitches, frayed webbing, abraded coating, and any place where the fabric has gone shiny or thin.
Repair small faults immediately rather than letting them grow. Re-seal a seam, restitch a bar tack, replace a worn cord, or patch a scuff with a piece of the same fabric. Then test again. This cycle — test, inspect, repair, retest — is how professional gear gets made, and it is how you build genuine confidence in your own work.
British weather will always find the weakness in a design. That is a gift. Find it on a Tuesday afternoon in the garden rather than on a remote moor in February, and you will be grateful you did.

Hi, my name is Anthony kuber. I am artist and fashion designer.
I love to travel and writing blogging.
Your email address will not be published. Required fields are marked *
Software Developer & Writer
Hey, I'm Diva, a developer and writer blending code and creativity. I'm driven by a deep curiosity and a relentless pursuit of excellence. Join me as I craft digital solutions and captivating stories.


